How to Find All Photos on My Computer Windows 11
Introduction
Finding all your photos on a Windows 11 computer can seem daunting, especially if you don’t have a dedicated organizational system. Photos can accumulate in various folders, downloaded from different sources, or synced from multiple devices. Having an efficient method to locate and manage these pictures is essential for both productivity and peace of mind. This guide will give you a comprehensive look at different ways to find all photos on your Windows 11 computer using built-in tools and third-party applications.

Understanding Windows 11 File Explorer
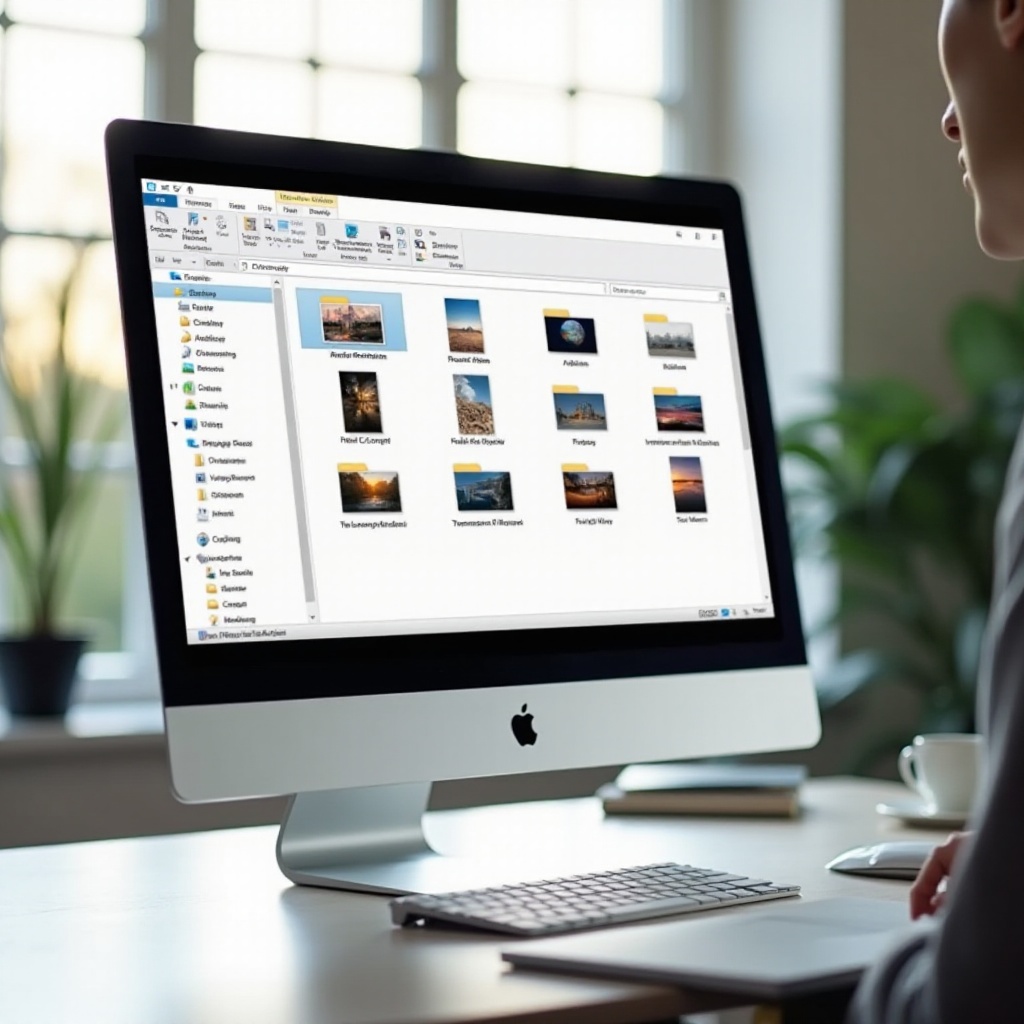
File Explorer in Windows 11 is a powerful tool for managing files and folders. It has undergone several updates to improve usability and functionality. The latest version comes with a fresh user interface, new features, and better integration with cloud services like OneDrive.
Navigating through File Explorer, you can browse through different directories and use search functionalities to locate specific file types, including photos. The left-hand sidebar provides quick access to commonly used folders like Documents, Downloads, Pictures, and more. Knowing the basic structure and navigating efficiently can save a lot of time when searching for files.
Connecting the interface of File Explorer with its search capabilities, we can dive into how the built-in Photos App makes the process even more straightforward.

Using the Built-in Photos App
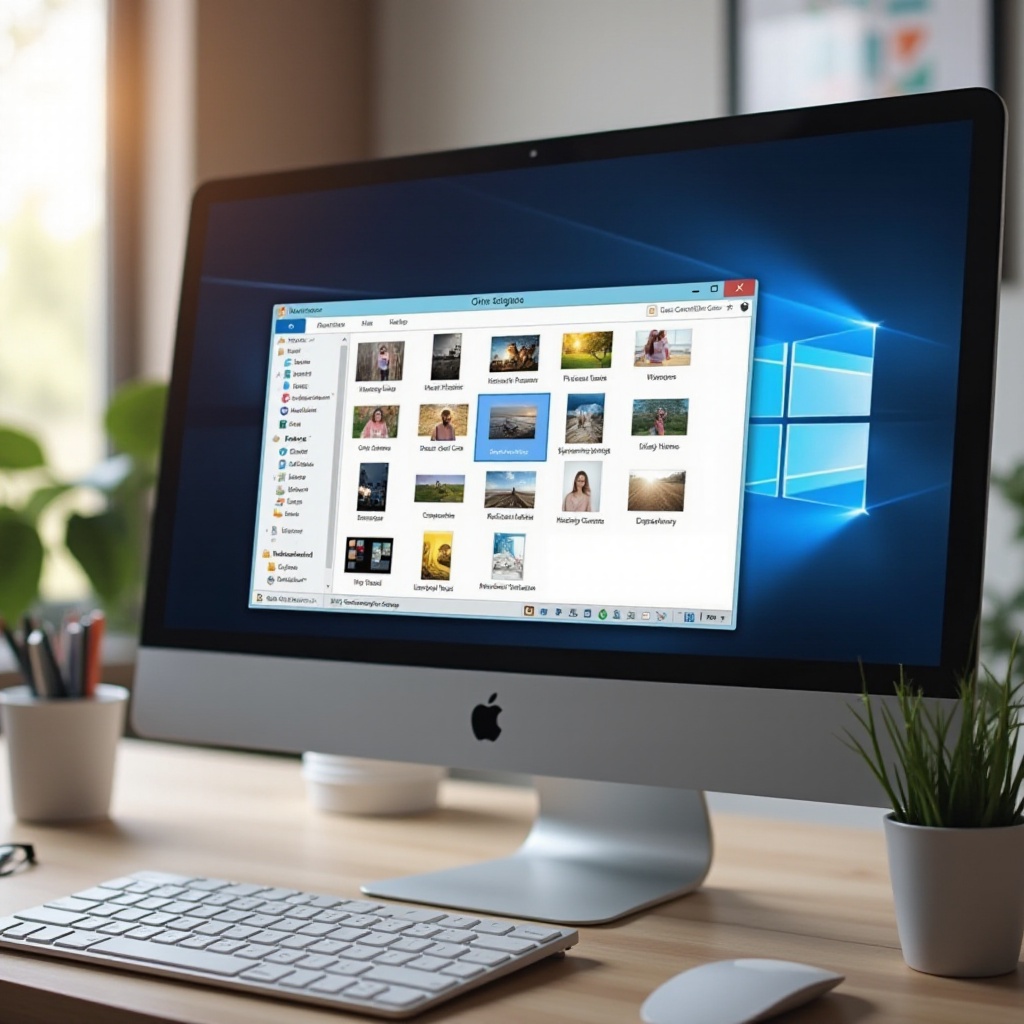
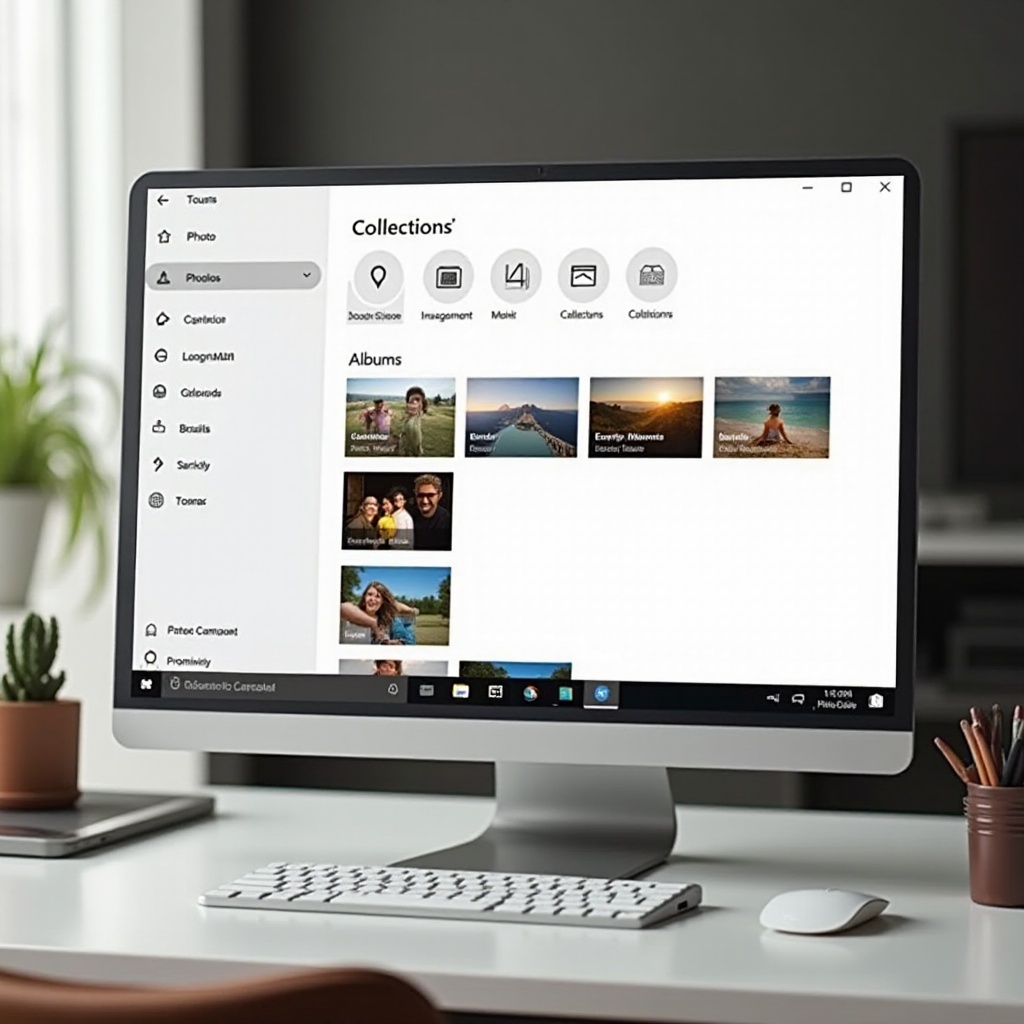
Windows 11 comes with a built-in Photos app designed to help you view, edit, and organize your photos effortlessly. This app automatically scans your computer for image files and compiles them into a single, easy-to-access location.
- Open the Photos app by typing ‘Photos’ in the Start menu search bar.
- Ensure the app has access to all your folders by going to Settings within the app and selecting ‘Add a folder’ for specific directories you want to include.
- The Photos app will start indexing the images from these folders, allowing you to view them in a unified gallery.
With the Photos app, browsing through your image library becomes significantly easier, but let’s look closer at how File Explorer’s advanced search features can help you find all your photos on your computer.

Searching with File Explorer
File Explorer’s search function can be very effective for locating photo files scattered across your computer. Here’s how to maximize its potential:
- Open File Explorer and navigate to the root directory, which is usually labeled ‘This PC.
- In the search bar at the top-right, type in common image file extensions such as ‘.jpg,’ ‘.png,’ or ‘*.gif.
- Press Enter, and File Explorer will display all files matching these extensions from the chosen directory.
Using this method, you can quickly aggregate all image files into one search result list, making it easier to review and organize. This search feature complements the Photos app well, especially for those who prefer more control over their file organization.
Next, we’ll explore how command-line tools like Command Prompt and PowerShell can offer an even more granular approach to searching for image files.
Utilizing Command Prompt and PowerShell
For users who are comfortable with command-line interfaces, Command Prompt and PowerShell provide powerful methods for searching and managing files. These tools allow you to run specific commands to find image files across your file system.
Command Prompt:
- Open Command Prompt by typing ‘cmd’ in the Start menu search bar and pressing Enter.
- Use the command
dir /s /b C:\*.jpg C:\*.png C:\*.gifto search for all JPEG, PNG, and GIF images on your C: drive. Adjust the drive letter if necessary.
PowerShell:
- Open PowerShell by typing ‘powershell’ in the Start menu search bar.
- Use the command
Get-ChildItem -Path C:\ -Include *.jpg, *.png, *.gif -Recurseto perform a similar search.
These methods are especially useful for advanced users and can be incorporated into scripts for more automated photo management tasks. While robust, not everyone finds these tools user-friendly, which brings us to third-party applications designed specifically for photo organization.
Third-Party Applications for Photo Management
While Windows 11 provides excellent built-in options, third-party applications can offer additional features and flexibility. Software like Adobe Lightroom, ACDSee, and Google Photos specialize in photo management and provide more advanced options for tagging, categorizing, and backing up images.
- Adobe Lightroom: Ideal for photographers and those who require advanced editing features.
- ACDSee: Known for its robust organizational tools and image editing capabilities.
- Google Photos Backup and Sync: Syncs photos from your computer to Google Photos, providing cloud storage and easy sharing options.
Each of these applications brings unique features to the table, enhancing how you manage your photo library compared to the built-in tools available on Windows 11.
Now that we’ve covered various tools and apps, let’s look at some best practices for organizing and backing up your photos.
Best Practices for Organizing and Backing Up Photos
To keep your photos accessible and safe, consider adopting the following best practices for organization and backup:
- Create Folders: Organize photos into folders categorized by date, event, or location.
- Tagging: Use metadata and tags to make searching for specific images easier.
- Regular Backups: Use external drives or cloud services like OneDrive or Google Photos for regular backups to prevent data loss.
These practices not only make finding and organizing photos more efficient but also ensure your cherished memories are protected against unforeseen events.
Despite these best practices, you may encounter issues during your search or organization process. Let’s address some common problems and their solutions next.
Troubleshooting Common Issues
Despite using various tools and methods, you might still face challenges. Here are some common issues and how to troubleshoot them:
- Missing Photos: Ensure all relevant folders are included in your search and indexing settings, both in File Explorer and the Photos app.
- Duplicates: Use duplicate photo finder tools to locate and eliminate redundant copies.
- Access Issues: Ensure you have the necessary permissions to access all folders and drives you want to search.
These troubleshooting steps should resolve most issues you encounter, allowing you to maintain a well-organized photo library.
Conclusion
Locating and organizing all photos on your Windows 11 computer doesn’t have to be a complicated task. By leveraging built-in tools like File Explorer and the Photos app, utilizing command-line options, or turning to third-party applications, you can efficiently manage your photo collection. Coupled with best practices for organization and regular backups, you’ll ensure all your photos are both accessible and safe.
Frequently Asked Questions
What are the best ways to search for photos on Windows 11?
The best methods include using the Photos app, File Explorer’s search function, and command-line tools like Command Prompt and PowerShell. Third-party applications can also provide enhanced functionality.
How can I manually tag photos for easier search?
You can use the properties dialog in File Explorer to add tags to your photos. Right-click on a photo, select ‘Properties,’ go to the ‘Details’ tab, and add tags in the tag field.
What should I do if the Photos app is not finding all my photos?
Ensure all important folders have been added to the Photos app’s settings. Go to the app’s settings, select ‘Add a folder,’ and include any directories that contain your images. If the issue persists, consider using a different search method or third-party app.
