How Difficult is it to Refoam Speakers?
Introduction
Refoaming a speaker can seem daunting for both newbies and enthusiasts. Whether the foam surrounds have aged or deteriorated, bringing your speakers back to their prime condition is a valuable skill. The process involves removing old foam and adhering new foam surrounds, ensuring excellent sound quality and longevity. Understanding the steps involved and potential challenges can make the procedure more manageable. Here, we’ll guide you through the basics of refoaming speakers, the materials required, and a step-by-step approach, boosting your confidence to undertake it yourself.
Understanding What Refoaming Involves
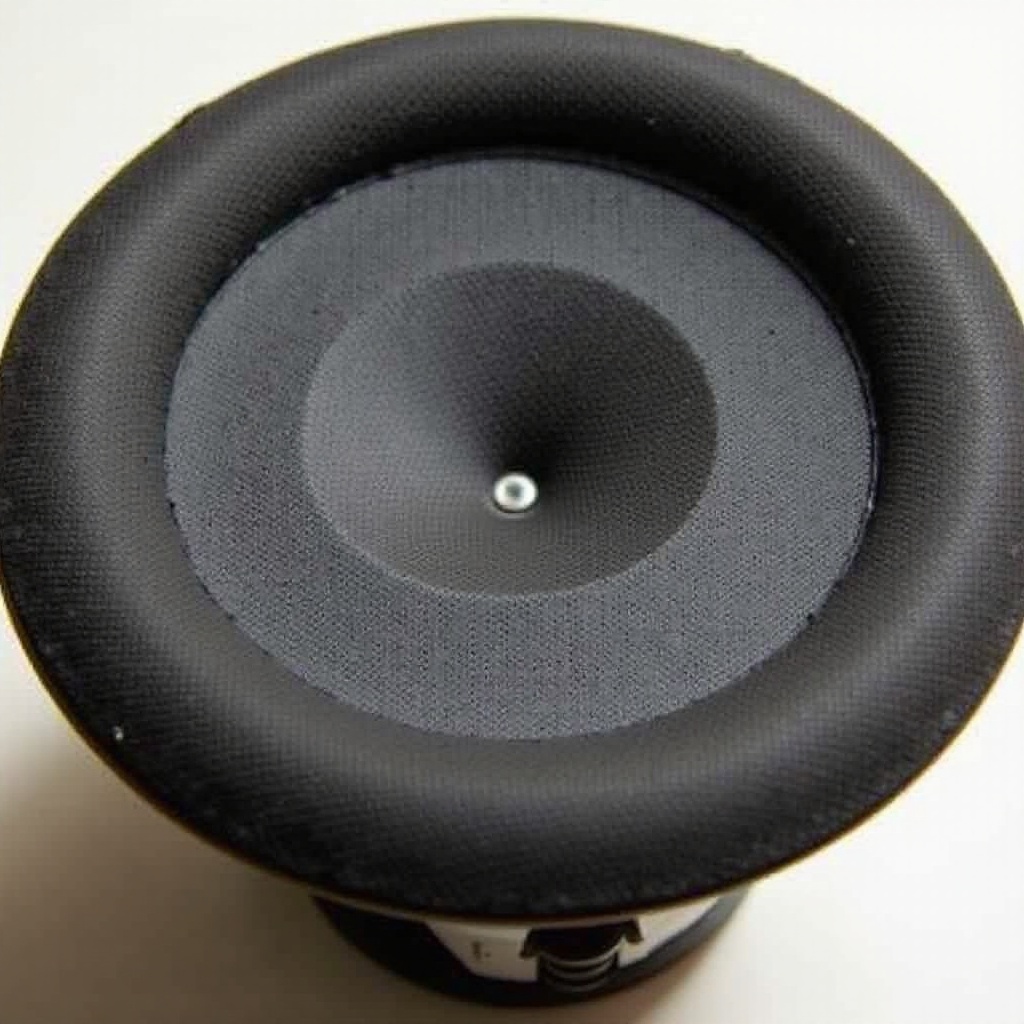
Refoaming speakers means replacing the worn-out foam surrounds that maintain the speaker cone’s alignment. Foam surrounds degrade over time due to environmental factors and use, affecting overall sound quality. The process of refoaming includes cleaning off the deteriorated foam, preparing the speaker’s surface, and attaching new foam to restore functionality.
Refoaming is a delicate task requiring precision and a steady hand. It’s a cost-effective alternative to purchasing new speakers, especially if other speaker components are in good condition. By learning how to refoam correctly, you can extend the life of your speakers and even improve their performance.
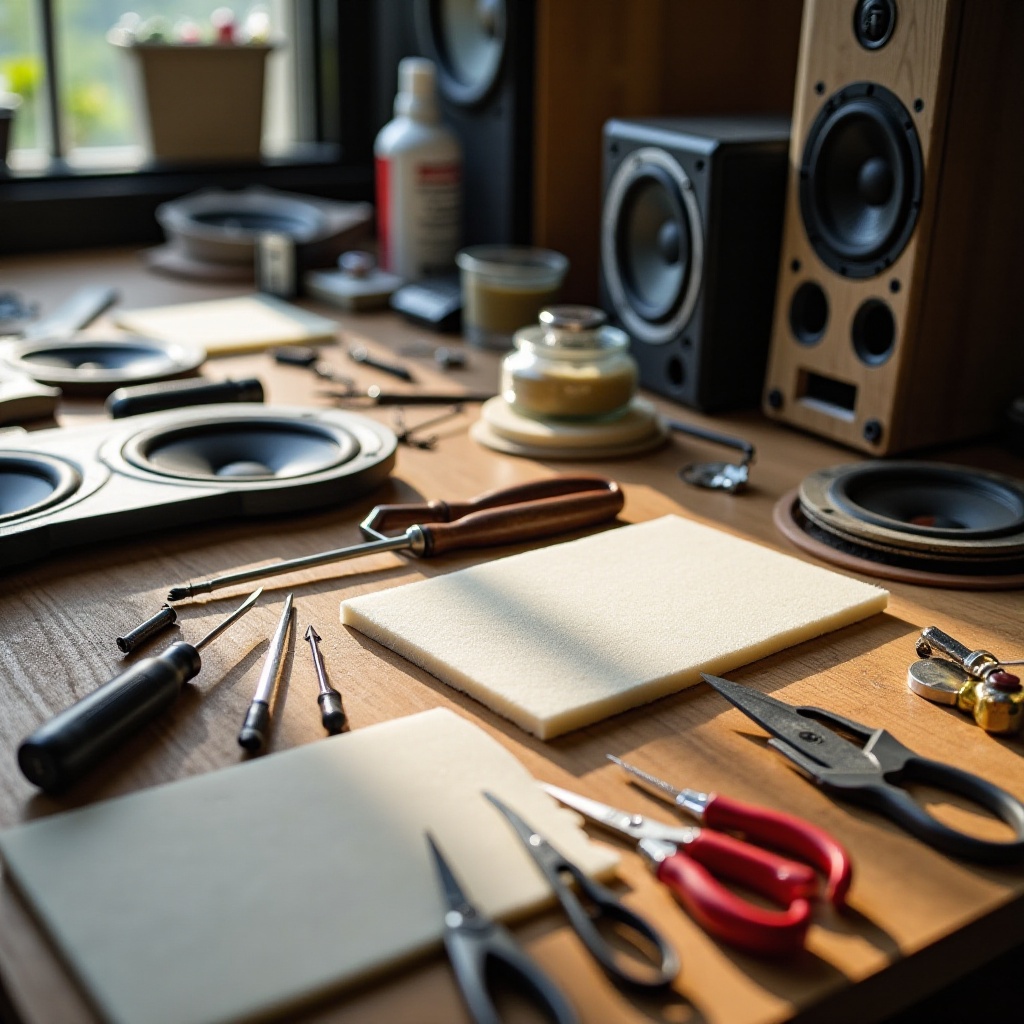
Tools and Materials Needed
Before starting, gather all necessary tools and materials. Here’s what you’ll need:
- Replacement Foam Surrounds: Specific to your speaker model.
- Adhesive: A flexible, high-quality glue that adheres to foam.
- Utility Knife or Scalpel: To remove the old foam.
- Brush: For applying the adhesive.
- Cleaning Solvent: To clean old adhesive residue.
- Clamps or Weights: To hold the new foam in place while the glue dries.
- Screwdrivers and Pliers: For opening and handling the speaker components.
- Cotton Swabs and Cloth: For cleaning purposes.
Work in a clean, well-lit area to avoid dust and debris contacting the adhesive during the process. This preparation saves time and frustration later on.
Step-by-Step Guide to Refoaming
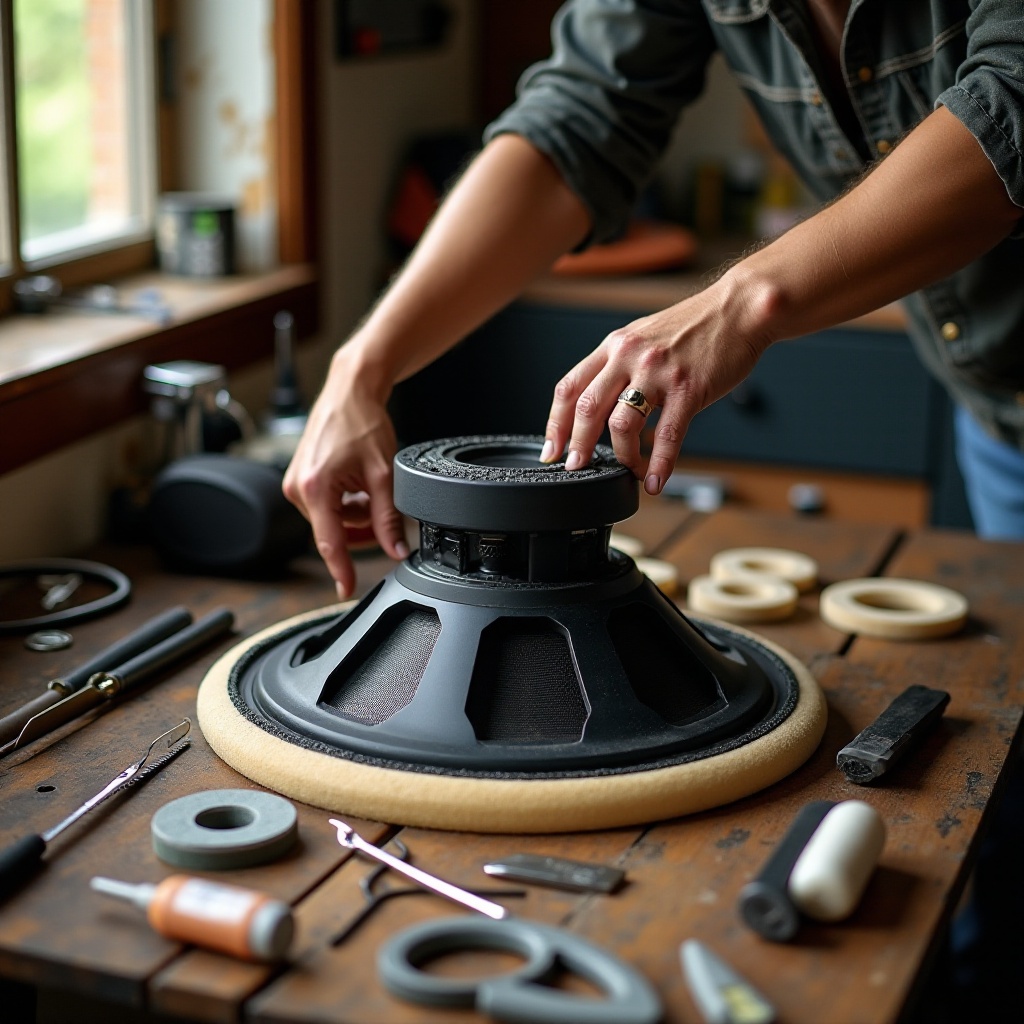
Preparing the Speaker
- Disassemble the Speaker: Carefully remove the speaker from its casing using screwdrivers. Handle all components with care to avoid damage.
- Remove Dust Cap: Score around the dust cap with a sharp knife and gently lift it off. This cap protects the voice coil, which you’ll need to keep free of debris.
Removing the Old Foam
- Cut and Peel: Carefully cut the old foam surround using a utility knife. Peel it away from the cone and the frame.
- Clean Edges: Use a cleaning solvent and a brush to remove any remaining adhesive and foam residue. Clean thoroughly to ensure proper adhesion of the new foam.
Cleaning the Areas
- Cone and Frame: Focus on cleaning both the cone and the frame. The cleaner they are, the better the new foam will adhere.
- Voice Coil: Be cautious around the voice coil area. Make sure no debris falls into it.
Applying the New Foam
- Dry Fit: Before applying glue, position the new foam ring around the cone and frame to check for fit.
- Apply Adhesive: Apply a thin, even layer of adhesive on the cone’s edge and the corresponding part of the new foam. Let it become tacky.
- Attach Foam: Carefully align and attach the foam to the cone. Press gently to ensure it sticks uniformly.
- Attach the Frame: After the cone side is secure, repeat the gluing process on the frame side. Clamp or weight the foam and let it dry completely.
- Reattach Dust Cap: Apply glue around the dust cap edge and reattach it in its original position.
Common Challenges and Troubleshooting
Refoaming speakers can come with its own set of challenges. Here are some common issues and tips for troubleshooting them:
Misalignment Issues
Misalignment can cause the speaker cone to rub against the voice coil, producing distorted sound. Always ensure the foam is centered correctly.
Glue Spillage
Excess glue can damage the speaker or impede movement. Use glue sparingly and clean any spills immediately with a solvent.
Testing Problems
After refoaming, if the speaker doesn’t produce sound, double-check all connections and the foam alignment. Ensure the voice coil is unobstructed and centered.
Tips for a Successful Refoaming Job
- Read Manufacturer Instructions: Always refer to specific instructions for your speaker model.
- Take Your Time: Rushing can lead to mistakes. Be patient.
- Practice on an Old Speaker: If you’re unsure, practice refoaming on an old speaker to gain confidence.
Conclusion
Refoaming speakers is a methodical process that can extend their lifespan and rejuvenate their sound quality. Although it requires patience and precision, it’s a manageable task with the right tools and method. Follow our guide closely to ensure successful results and high-quality sound restoration.
Frequently Asked Questions
Can I refoam speakers myself?
Yes, with the right tools and careful adherence to instructions, you can refoam your speakers successfully.
How long does it take to refoam a speaker?
The entire process can take approximately 1 to 2 hours, depending on experience and drying times for the adhesive.
What if I make a mistake during refoaming?
If you make a mistake, you can usually correct it by gently removing the new foam and re-aligning it. Practice patience and precision to minimize errors.