How to Record Audio from MacBook Speakers with OBS Studio
Introduction
Recording audio from MacBook speakers can be a bit of a challenge due to the system’s default configurations, but with OBS Studio, it becomes a manageable task. This guide will walk you through the steps needed to record audio directly from your MacBook’s speakers using OBS Studio. Whether you’re looking to capture audio for a podcast, live stream, or any other project, we’ve got you covered.
OBS Studio is a powerful open-source software used widely for video recording and live streaming. Its versatility also makes it perfect for capturing audio on your MacBook.
Setting Up OBS Studio on MacBook
To start, you’ll need to download and install OBS Studio on your MacBook. Follow these steps:
- Go to the OBS Studio website.
- Download the MacOS version.
- Open the downloaded file and follow the on-screen instructions to install OBS Studio.
- Once installed, launch the OBS Studio application.
Having set up OBS Studio, the next step is to install the necessary audio tools to effectively capture audio from your MacBook speakers.
Installing Necessary Audio Tools
To record audio from your MacBook speakers, you need additional audio tools that can reroute audio output back into OBS Studio. Here are the steps:
- Download and install Soundflower or BlackHole. These tools create virtual audio devices that OBS Studio can use.
- Once installed, go to ‘System Preferences’ on your Mac.
- Navigate to ‘Sound’ and select the ‘Output’ tab.
- Choose ‘Soundflower (2ch)’ or ‘BlackHole’ as your sound output device.
Once you’ve set up the virtual audio tool, it’s time to configure the audio settings within OBS Studio.
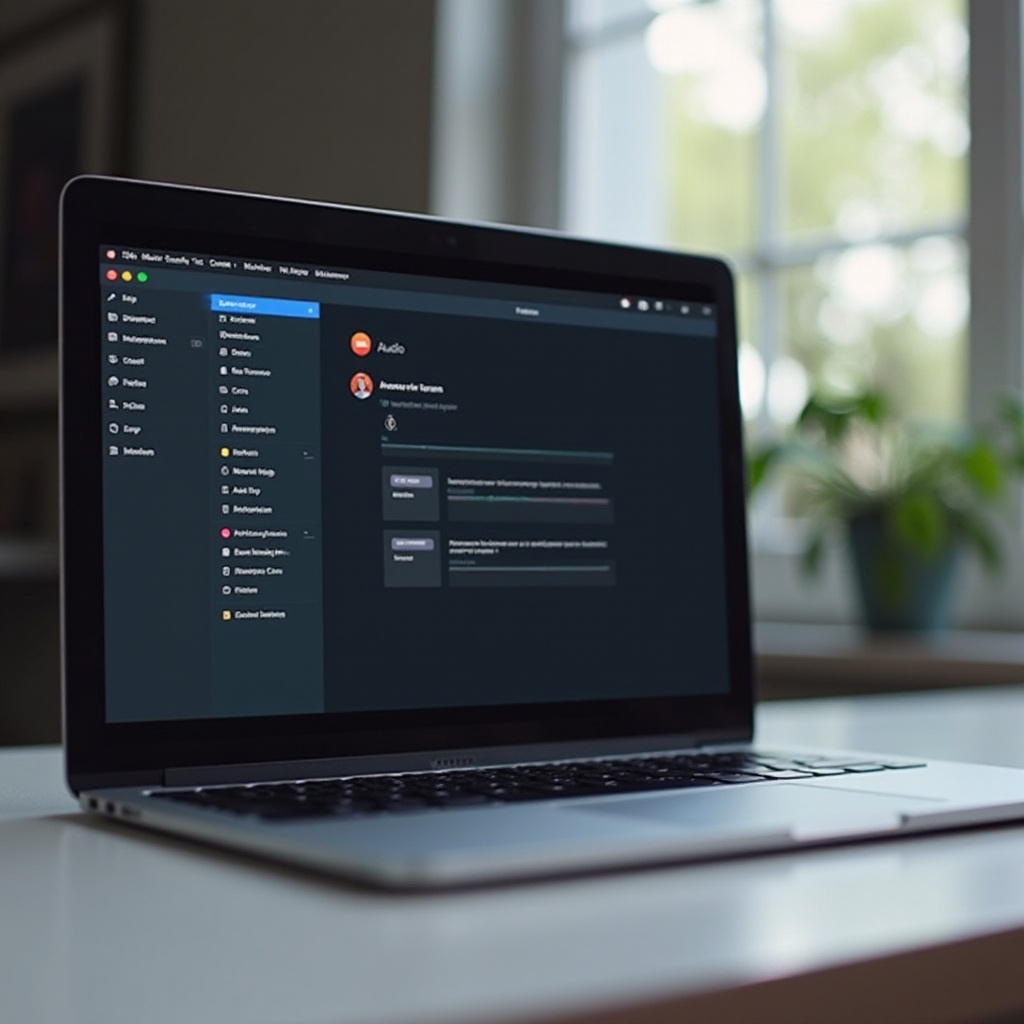
Configuring Audio Settings in OBS Studio
With OBS Studio open, follow these steps to configure the audio settings:
- Go to ‘Settings’ in OBS Studio.
- Select the ‘Audio’ tab.
- Under ‘Global Audio Devices,’ set the ‘Desktop Audio’ to ‘Soundflower (2ch)’ or ‘BlackHole.
- Click ‘Apply’ and then ‘OK.
- Next, add an audio source in the main OBS window:
- Click the ‘+’ sign under ‘Sources.
- Choose ‘Audio Input Capture’ and name it (e.g., ‘System Audio’).
- Select ‘Soundflower (2ch)’ or ‘BlackHole’ from the device list.
Your OBS Studio is now configured to capture audio from your MacBook speakers. To enhance the process, consider using a virtual audio cable.
Using Virtual Audio Cable for System Audio
Virtual audio cables like Soundflower and BlackHole are essential for capturing system audio. Here’s how to use them effectively:
- Ensure that your Output device is set to ‘Soundflower (2ch)’ or ‘BlackHole’ in the ‘Sound’ settings.
- Install the iShowU Audio Capture plugin for better control and routing.
- Open ‘Audio MIDI Setup’ (found in Applications > Utilities).
- Create a new ‘Multi-Output Device’:
- Click the ‘+’ button and select ‘Create Multi-Output Device.
- In the right pane, check both your MacBook speakers and ‘Soundflower (2ch)’ or ‘BlackHole.
- Set this Multi-Output Device as your default sound output.
This configuration will ensure that sound played through your MacBook speakers can be captured by OBS Studio for your recordings.
Testing and Troubleshooting
Before you start recording, it’s important to test and ensure everything is working correctly:
- Play some audio through your MacBook.
- Check OBS Studio to see if the audio levels are moving in the ‘Audio Mixer’ section.
- If there’s no audio, revisit the audio settings steps and ensure everything is correctly configured.
If you encounter issues:
- Ensure your Multi-Output Device includes ‘Soundflower (2ch)’ or ‘BlackHole’ and your MacBook speakers.
- Verify that the correct devices are selected in both the System Preferences and OBS Studio settings.
Advanced Tip: Using Third-Party Applications
For more advanced audio routing, tools like Rogue Amoeba’s Loopback offer powerful audio routing capabilities:
- Download and install Loopback.
- Create a new virtual device and route audio from any application to OBS Studio.
- Select this virtual device in OBS Studio as your audio input source.
This method provides high-quality audio routing and greater control over your audio sources.
Recording Your First Audio
With OBS Studio ready:
- Click ‘Start Recording’ in the main OBS window.
- Play the audio you want to record on your MacBook.
- When finished, click ‘Stop Recording.
Your recorded file will be saved in the default location you specified in OBS settings. You can review and edit this recording as needed for your projects.
Conclusion
Recording audio from MacBook speakers using OBS Studio involves several configurations, primarily setting up virtual audio devices and configuring OBS Studio settings. By following this guide, you’ll be able to record high-quality audio directly from your system speakers for your projects with ease.
Frequently Asked Questions
What audio tools are recommended for OBS on MacBook?
Soundflower, BlackHole, and iShowU Audio Capture are excellent tools for routing system audio to OBS Studio. For advanced routing, Loopback by Rogue Amoeba is highly recommended.
How can I avoid echo and feedback while recording?
Use headphones to monitor your audio to prevent echo and feedback. Ensure that the ‘Mute Output’ option is enabled in your audio source settings within OBS Studio.
Can I use OBS to record audio for podcasts and live streams?
Yes, OBS Studio is highly versatile and can be used to record audio for podcasts and live streams. It provides excellent control and quality, making it a favorite among content creators.