How to Refoam Speakers: A Step-by-Step Guide
Introduction
Refoaming speakers might sound daunting, but it’s a skill every audio enthusiast can master. Over time, the foam surrounds in speakers degrade due to age or exposure to the environment. Refoaming breathes new life into your beloved speakers, ensuring their performance and sound quality are restored or maintained. In this guide, we’ll take you through a clear, step-by-step process to refoam your speakers efficiently.
What Is Speaker Refoaming and Why Is It Important?
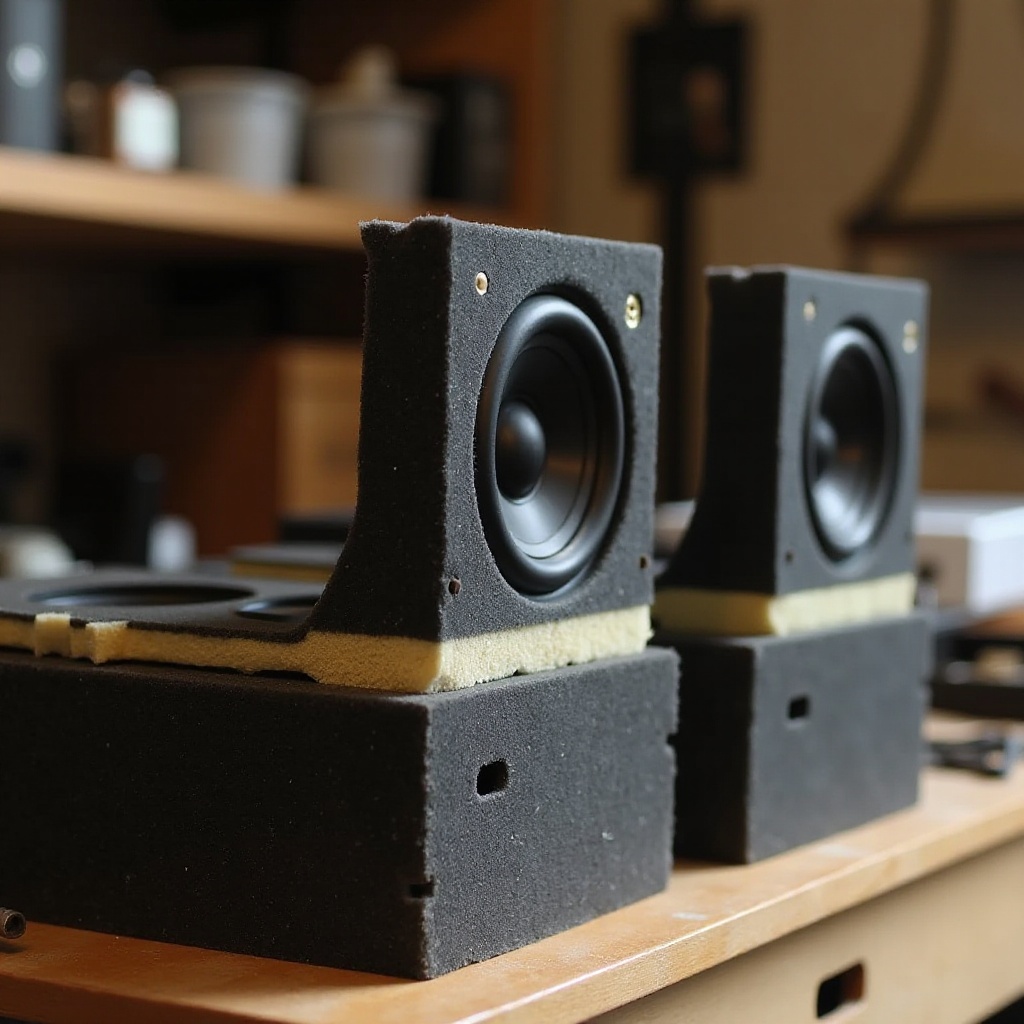
Speaker refoaming involves replacing the deteriorated foam surrounds of a speaker cone. Surrounds are the flexible rings around the edges of speaker cones, which allow them to move and produce sound. When these foam components wear out, the audio quality suffers, causing distortion or uneven sound distribution.
Refoaming is crucial for several reasons:
1. Sound Quality: Restoring the foam ensures clear and high-quality audio output.
2. Longevity: Fresh foam increases the lifespan of your speakers, saving you money on replacements.
3. Performance: Optimal speaker function helps maintain the original performance levels, giving you the best audio experience.
Understanding the significance of this process underscores the need to learn and perform it correctly, guaranteeing your speakers deliver their best sound for years to come.
Tools and Materials You Need to Refoam Speakers
Preparation is key to successful speaker refoaming. Gather the following tools and materials before starting:
- Replacement foam surrounds
- Adhesive (typically white or rubber-based glue)
- Craft knife or scalpel
- Rubbing alcohol or an adhesive remover
- Q-tips or cotton swabs
- A small brush
- Masking tape
- Container for holding small parts (screws, clips, etc.)
Having these items ready will smooth your refoaming process, allowing you to focus entirely on the task at hand.
Preparing Your Workspace
A well-prepared workspace can greatly enhance the efficiency and accuracy of your refoaming task. Follow these steps to ensure your space is ready:
- Clean Surface: Ensure you have a clean, flat work surface to avoid any dust or debris interfering with the process.
- Proper Lighting: Good lighting is essential to see the delicate parts and perform precise tasks.
- Secure Area: Dedicate a workspace that is free from unnecessary movement or distractions. This will help keep all the small parts in place and avoid any accidents.
Setting up a conducive workspace allows you to concentrate better and handle the components with care and precision.
Step-by-Step Guide to Refoaming Your Speakers
With everything in place, it’s time to begin refoaming your speakers. Follow these steps carefully to ensure successful refoaming.
Removing the Old Foam Surround
- Detach the Grilles: Carefully remove the speaker grilles if they are attached. This might require unscrewing or gently prying them off.
- Unfasten the Speaker Driver: Unscrew the speaker driver from the cabinet.
- Remove the Old Foam: Using a craft knife or scalpel, carefully cut away the remnants of the old foam surround from the speaker cone and frame.
Cleaning the Speaker Cone and Frame
- Apply Adhesive Remover: Use rubbing alcohol or an adhesive remover to soften the old adhesive.
- Clean Thoroughly: Gently clean the speaker cone and frame with Q-tips or cotton swabs to remove any old glue and foam pieces. Ensure the surfaces are clean and smooth for the new foam to adhere properly.
Applying the New Foam Surround
- Align the Foam: Place the new foam surround on the speaker cone to check the fit and alignment. Adjust as necessary.
- Apply Adhesive: Using a small brush, apply a thin layer of adhesive to the edges of the speaker cone and the inner edge of the foam surround.
- Attach Foam: Carefully attach the foam surround to the speaker cone, pressing firmly to ensure good contact.
Ensuring Proper Adhesion and Alignment
- Press Firmly: Apply gentle, even pressure around the foam surround to ensure it adheres fully to the speaker cone.
- Adjust Alignment: Ensure the foam is evenly aligned and centered around the cone. This is crucial for maintaining sound quality.
- Secure with Tape: Use masking tape to hold the foam surround in place while the adhesive sets.
Allow the adhesive to dry thoroughly per the manufacturer’s instructions before removing any masking tape.
Testing Your Refoamed Speakers
Once the adhesive is completely dry, reassemble your speakers. Attach the speaker driver back to the cabinet and replace the grilles if applicable. Test the speakers with a piece of music or audio to ensure they are functioning properly. Check for any distortion or misalignment in the audio output.
Troubleshooting Common Issues
While refoaming, you may encounter a few common issues. Here’s how to tackle them:
- Misalignment: If the foam surround does not sit evenly, gently adjust it before the adhesive sets.
- Adhesive Issues: Ensure you use the correct adhesive for a strong bond. Reapply if necessary.
- Distortion: Verify that the foam is fully adhered and the cone moves smoothly.
Paying attention to these details assures a successful refoaming process and high-quality sound output.
Conclusion
Refoaming your speakers can rejuvenate their performance and extend their lifespan. By following this guide, you can confidently restore your speakers’ sound quality. Remember that patience and precision are key. Enjoy the rewarding experience of maintaining your audio equipment!
Frequently Asked Questions
How long does it take to refoam a speaker?
Refoaming a speaker typically takes a few hours, including adhesive drying time. The initial steps might take 1-2 hours, with additional time required for the adhesive to cure fully.
Can I use any type of adhesive for refoaming speakers?
It’s best to use adhesives specifically designed for speaker refoaming, such as white or rubber-based glues. These provide the right combination of flexibility and strength.
How can I tell if I’ve done the refoaming correctly?
Check the speaker’s sound quality and movement. If there is no distortion and the cone moves freely, your refoaming is likely successful. Additionally, visually inspect the foam surround for proper alignment and adhesion.