How to Screenshot on Windows Surface Tablet: A Complete Guide
Introduction
Taking a screenshot can capture moments or important information displayed on your screen. For Windows Surface Tablet users, this task can be performed in multiple ways, catering to varying needs and preferences. This guide will navigate you through the different methods available for taking screenshots, including using physical buttons, utilizing built-in tools, keyboard shortcuts, and more.
Using Physical Buttons
Capturing screenshots using physical buttons is one of the most straightforward methods for Windows Surface Tablet users. This method is similar to taking screenshots on smartphones and is particularly useful for capturing the entire screen.
To take a screenshot using the physical buttons:
1. Hold down the Power button located on the side of your Surface device.
2. Simultaneously press the Volume Up button.
The screen will briefly dim, indicating a successful screenshot. The image is automatically saved in the Screenshots folder within the Pictures library.
This method is quick and does not require navigating through software applications. However, if your device has issues with the buttons or you prefer soft-copy options, alternative methods can be just as useful.

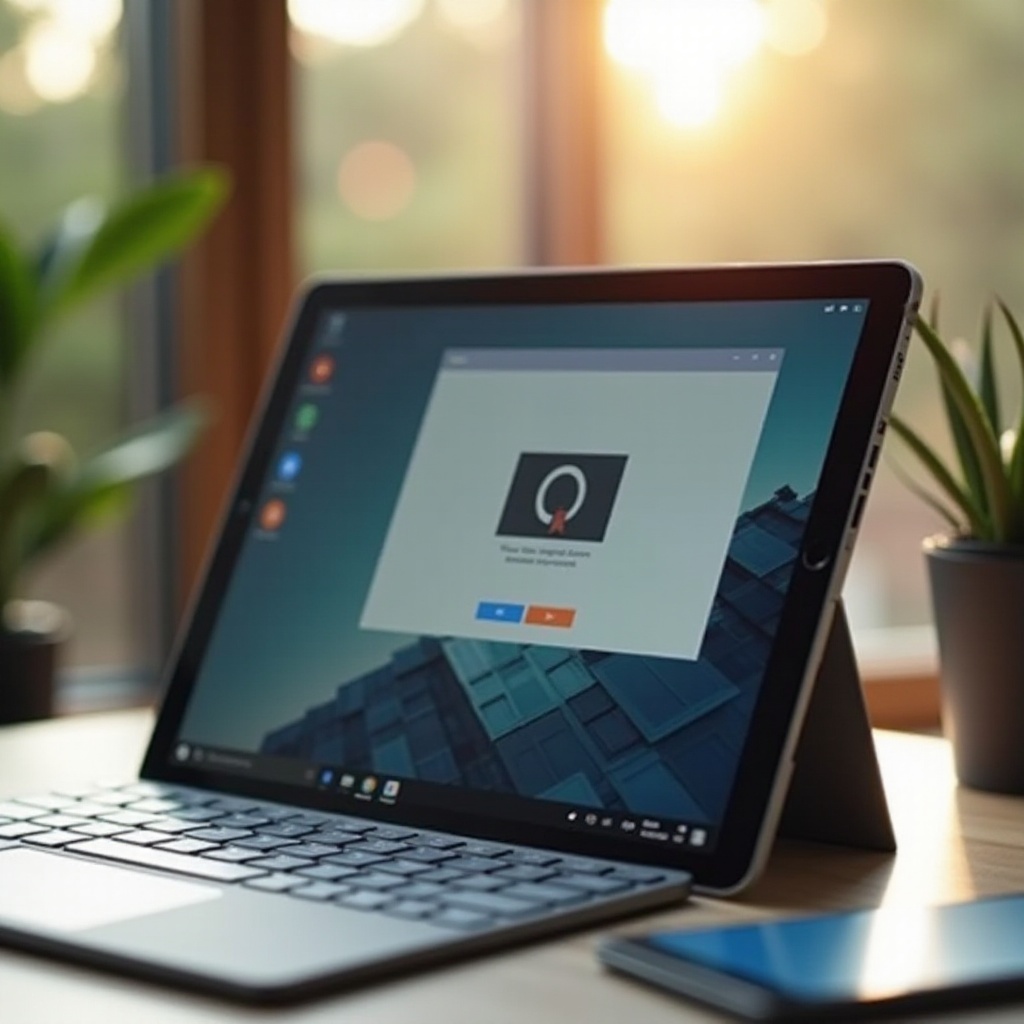
Using Snip & Sketch Tool
Transitioning from physical buttons, the Snip & Sketch tool offers a more versatile approach to capturing screenshots. It provides options to snip a rectangular area, free form, or full screen, and it includes editing features.
To use Snip & Sketch:
1. Open the Start menu and type Snip & Sketch in the search bar.
2. Click on the Snipping Tool from the results.
3. In the Snip & Sketch window, click on the New button.
4. Choose the snip shape at the top (Rectangular, Freeform, Window, or Fullscreen).
After capturing your desired screen portion, the image will appear within the Snip & Sketch tool, where you can annotate and edit before saving or sharing it.
This method provides a higher level of control over what you capture and includes tools for immediate annotation, adding significant utility over the basic physical button approach.
Keyboard Shortcuts for Screenshots
If you favor using a keyboard or have a Surface device with a detachable keyboard, keyboard shortcuts for screenshots provide a quick method. Here’s how you can do it:
Using Windows Keyboard Shortcuts:
- PrtScn (Print Screen): Captures the entire screen and copies it to the clipboard. You can then paste it (Ctrl + V) in any application like Paint or a document.
- Alt + PrtScn: Captures the active window and copies it to the clipboard for pasting.
- Windows + Shift + S: Opens Snip & Sketch with a rectangular snip as the default option. You can select your capture area and save or edit immediately in Snip & Sketch.
Keyboard shortcuts combine speed with functionality and can be especially useful in environments where quick, on-the-fly captures are essential.
Using the Game Bar for Screenshots
A less commonly known yet powerful tool for taking screenshots is the Xbox Game Bar. Ideal for gamers, it provides additional features like recording gameplay videos.
To use the Game Bar:
1. Press Windows + G to open the Game Bar overlay.
2. Click on the Capture widget in the overlay.
3. Press the camera icon to take a screenshot.
Captured images are saved in the Capture folder inside the Videos library. The Game Bar’s integration with Xbox services can be particularly advantageous for gaming enthusiasts wanting to capture and share their gameplay.
Third-Party Applications for Screenshots
Besides the built-in tools, several third-party applications can enhance your screenshot experience with additional features.
Popular Third-Party Apps:
- Greenshot: An easy-to-use tool with numerous capture options and editing functionalities.
- ShareX: A feature-rich tool with multiple capture methods, editing, and sharing options.
These applications provide advanced functionalities like scrolling captures for long webpages, direct upload to cloud services, and extensive editing tools, making them perfect for heavy users who need more than basic functions.
Saving and Editing Your Screenshots
Once you’ve captured your screenshots, knowing where to find and how to edit them is crucial. By default, screenshots taken with physical buttons or shortcuts are stored in the Screenshots folder within the Pictures library.
Basic Editing:
- Open your screenshot with Photos or other image editors.
- You can crop, rotate, adjust color, and annotate as needed.
Advanced editing can be done with third-party apps or tools like Photoshop, which allow for more sophisticated enhancements. This step is vital to ensure the screenshots serve their intended purpose effectively.
Troubleshooting Common Issues
Occasionally, you might encounter issues while taking screenshots. Here are common problems and solutions:
- Screenshots not saving: Check your storage settings to ensure adequate space and correct saving paths.
- Snip & Sketch not opening: Restart your device or update the app through the Microsoft Store.
- Buttons not working: This could be a hardware issue, so consider seeking technical support if other methods don’t work.
By addressing these common issues, users can maintain a smooth screenshot-taking experience regardless of occasional mishaps.
Conclusion
Taking screenshots on a Windows Surface Tablet offers flexibility and ease, thanks to the multiple methods available, including physical buttons, Snip & Sketch, and more. Whether you need a quick capture or detailed annotation, this guide equips you with the knowledge to efficiently use your Surface Tablet to its full potential.
Frequently Asked Questions
How do I find my screenshots on a Windows Surface Tablet?
Screenshots are typically saved in the *Screenshots* folder within the *Pictures* library. For captures using the Game Bar, they are stored in the *Captures* folder in *Videos*.
Can I annotate my screenshots directly after taking them on a Surface Tablet?
Yes, using Snip & Sketch, you can annotate and edit screenshots immediately after capturing them.
What should I do if my screenshots are not saving properly?
Ensure you have adequate storage space, and your saving paths are correctly set. If problems persist, try to restart your device or check for software updates.